Low Cost Room Thermometer Using 16×2 LCD and Atmega328
- Rajkumar Sharma
- 3.672 Views
- moderate
- Tested
- SKU: EL102197
- Quote Now
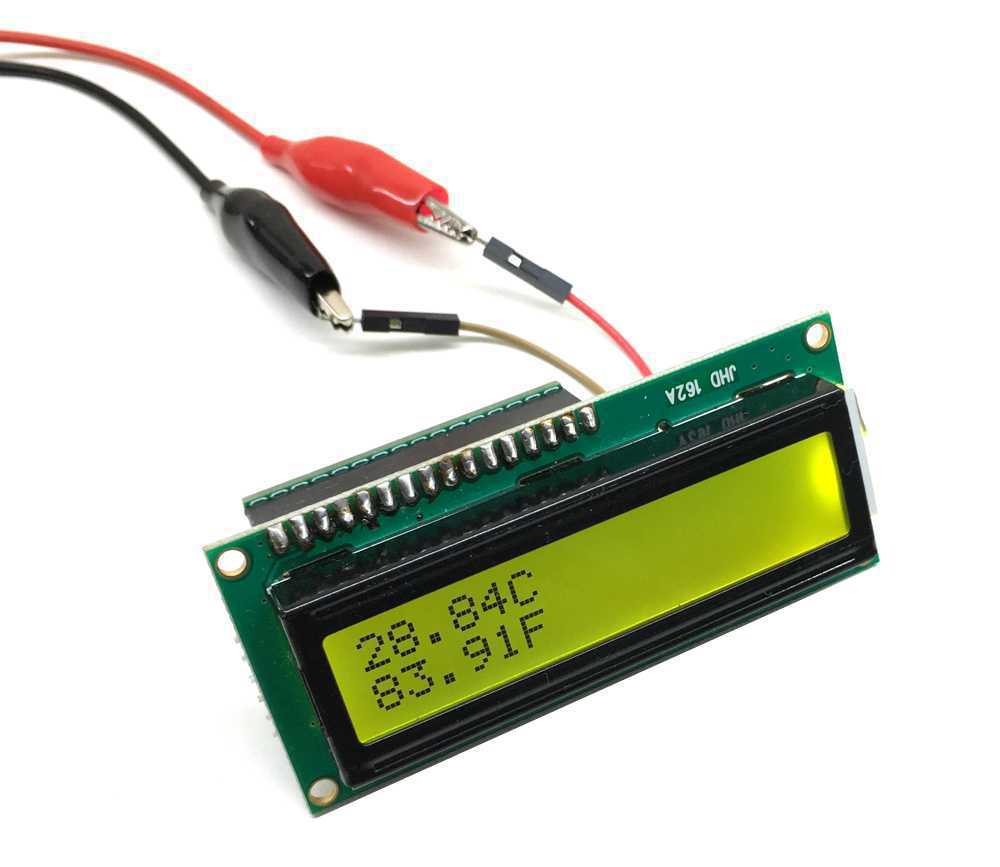
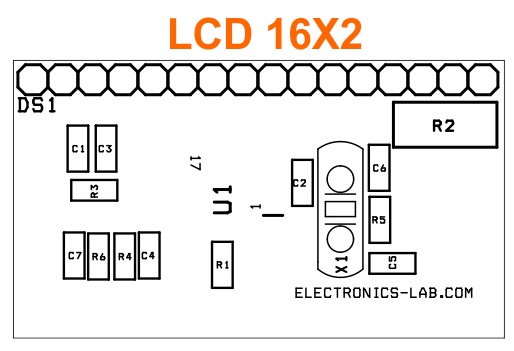
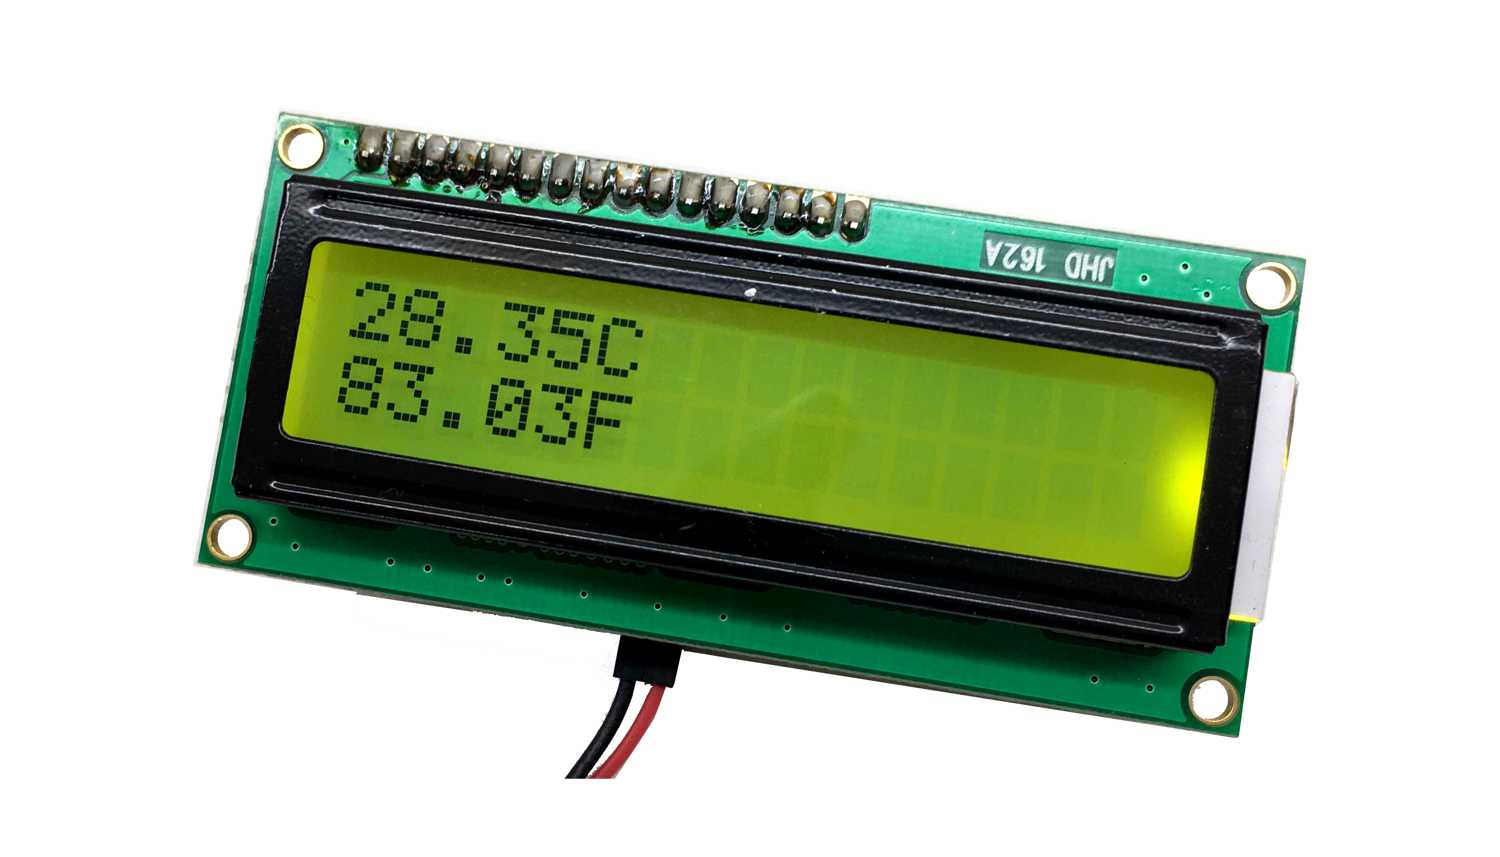
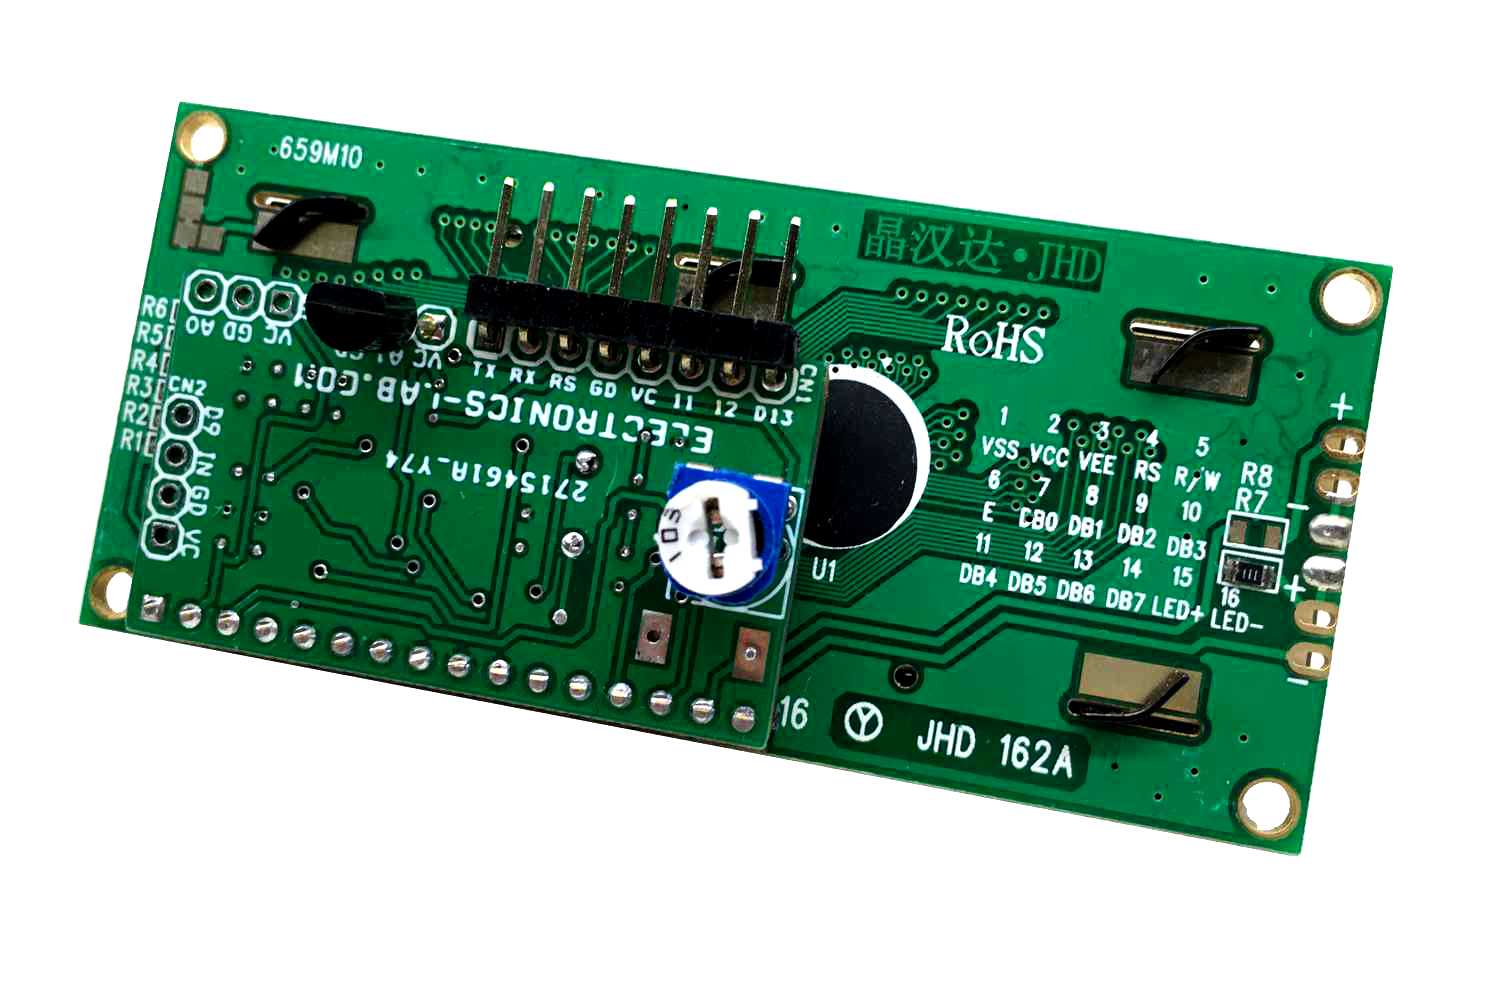
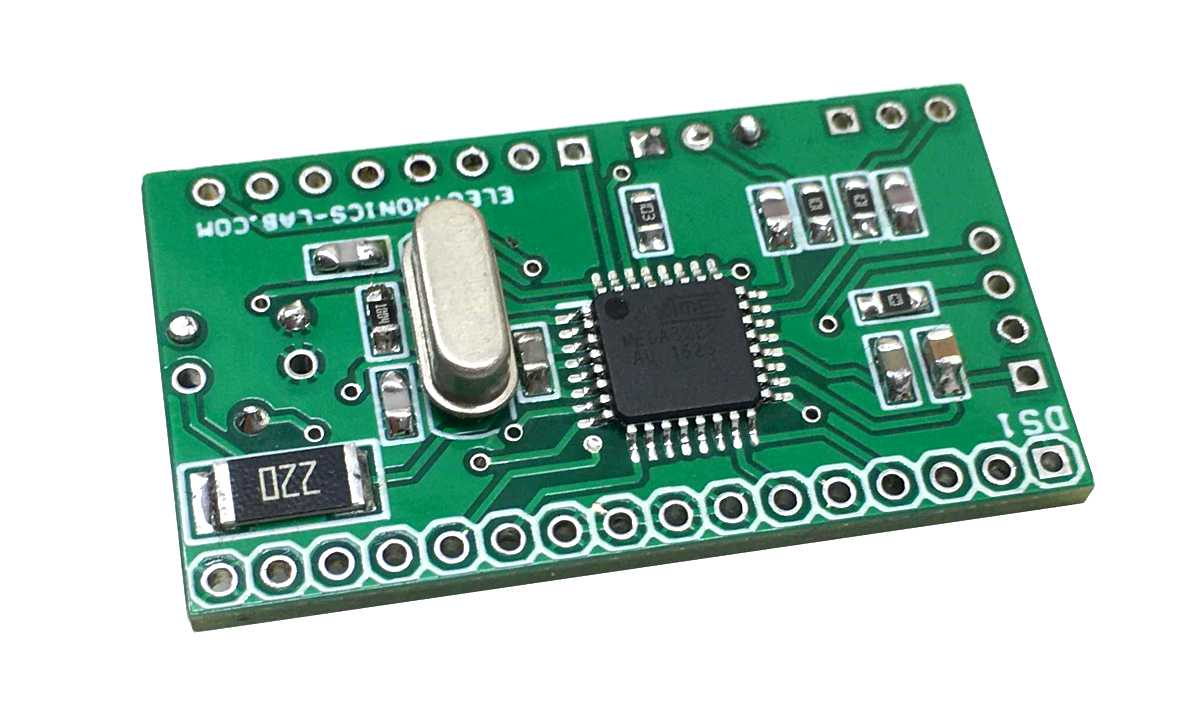
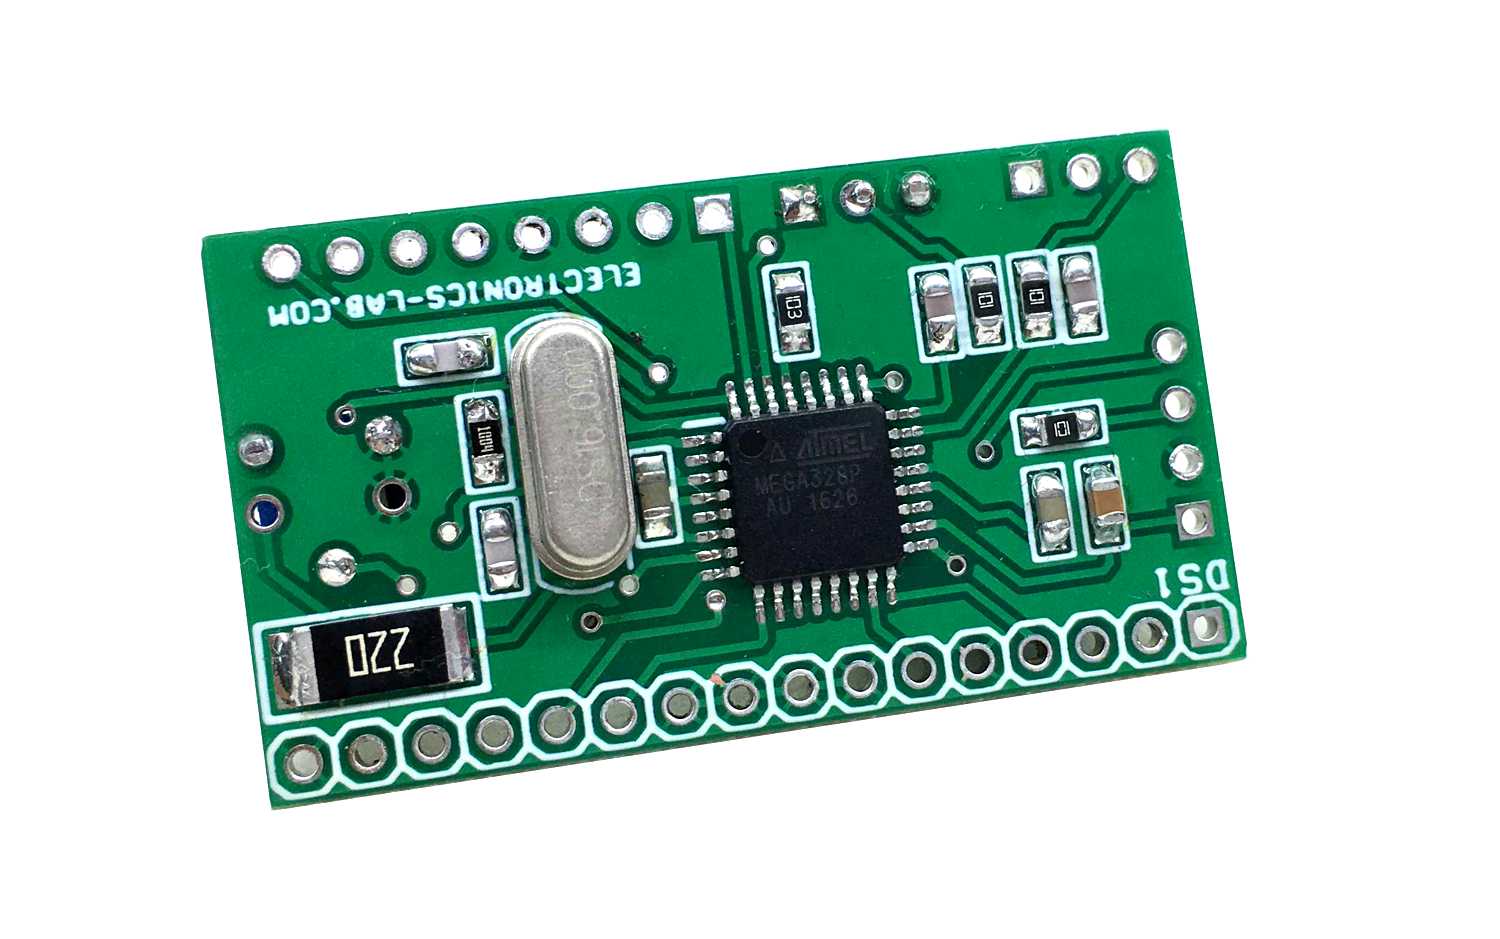
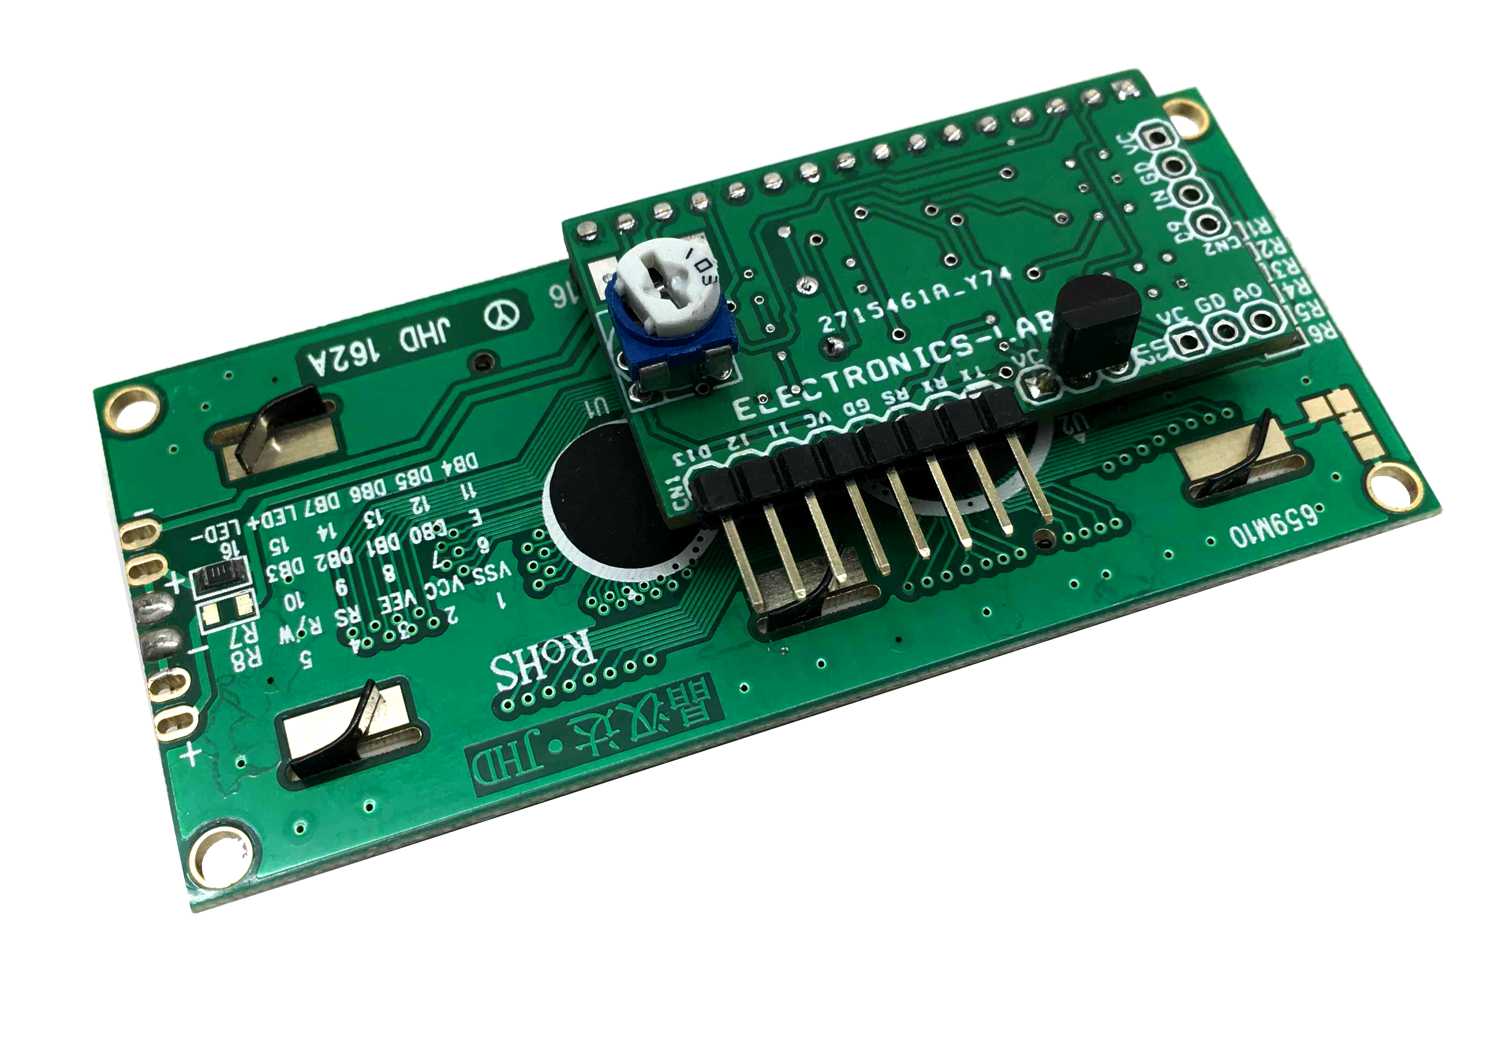
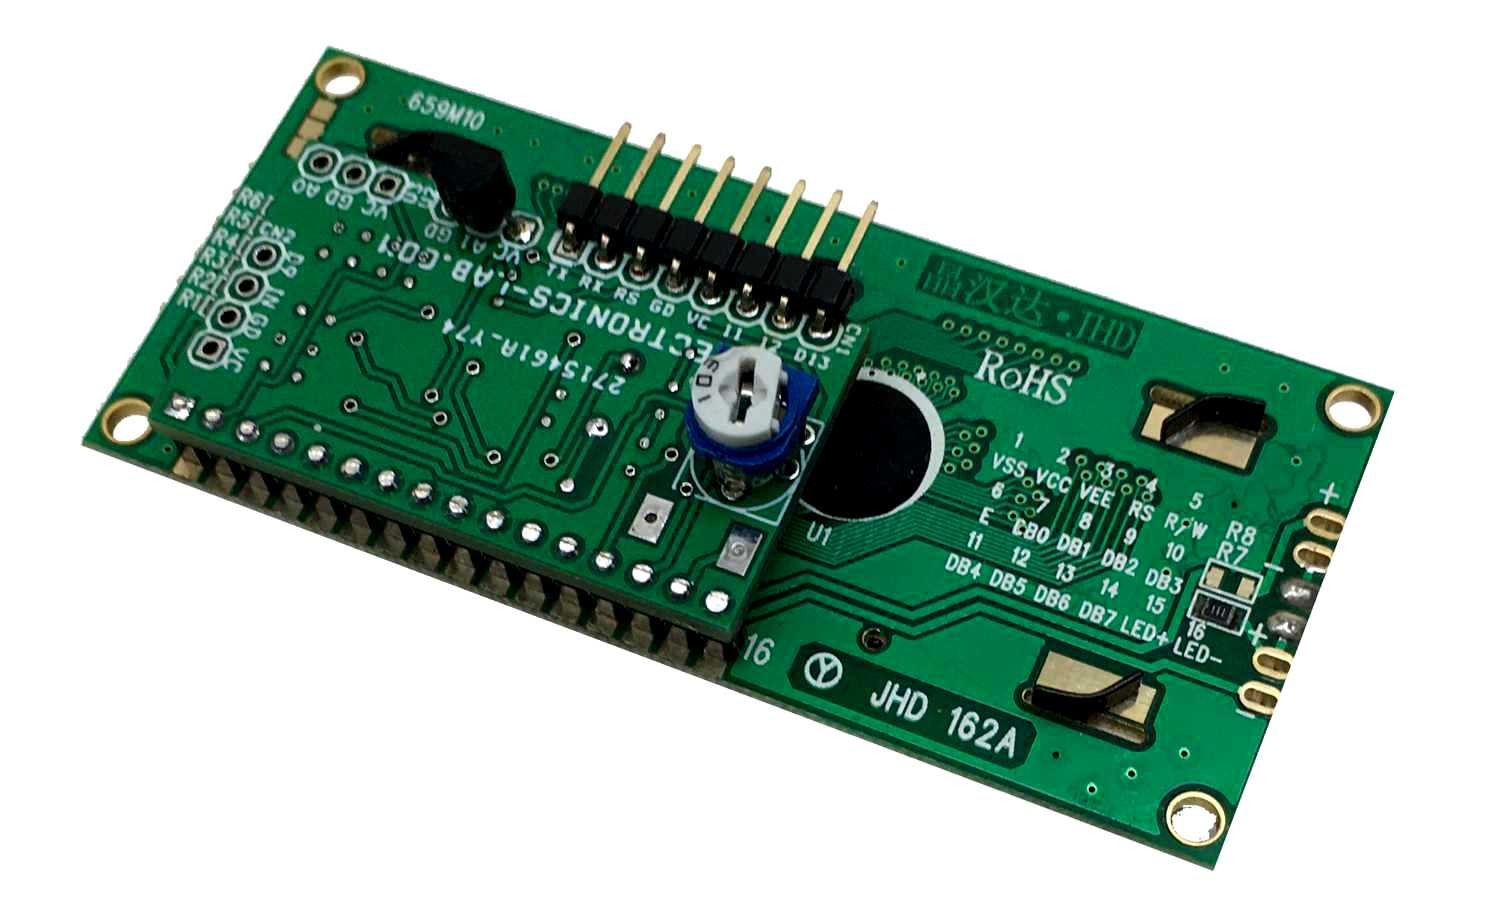
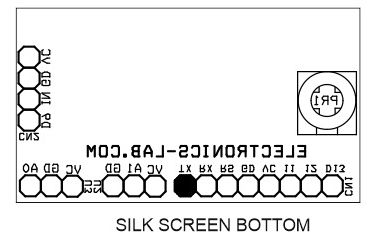
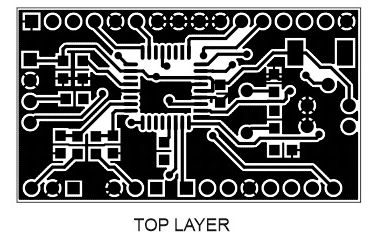
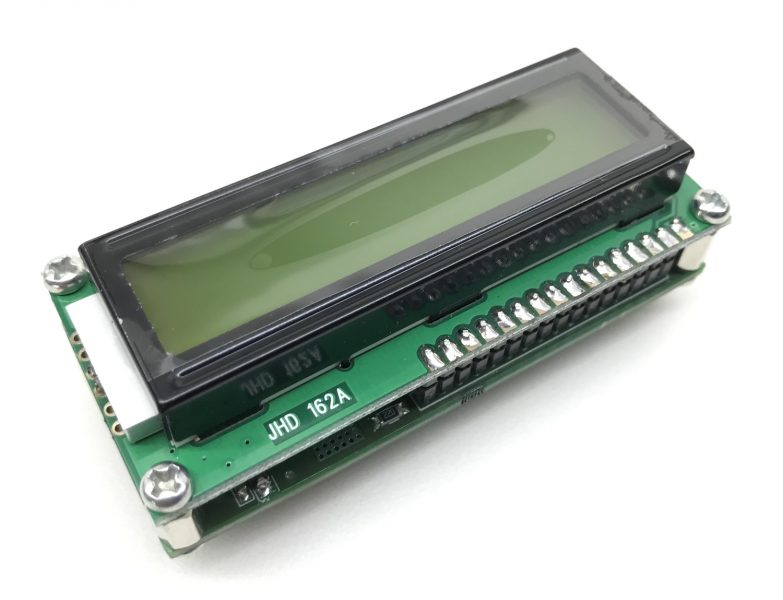
This is an easy to build small size and low-cost room thermometer. The project consists of LM35 analog temperature sensor, 16×2 LCD, and an Atmega328 chip. This compact board is Arduino compatible and provided with an onboard connector for Boot-Loader burning and Arduino IDE programming. Board also has 2 additional connectors for analog input and digital I/O. Trimmer potentiometer PR1 helps you to adjust the contrast of the LCD. Example Arduino Code for the thermometer is available as a download to test the board. The example will display the temperature value in Celsius as well as Fahrenheit. The operating voltage of the circuit is 5V DC and it draws approx. 35mA of current with backlight LED ON. Scale factor/Output of LM35 is 10mV/Centigrade. This board can also be used in other Arduino applications that require a 16×2 LCD and I/O Pins.
Features
- Supply 5V DC
- Current Consumptions 35mA with LCD Backlite ON
- Temperature Measurement Range 0 to 110 Centigrade
- PCB Dimensions 41.43 x 23.34 mm
Arduino Pin configurations for Thermometer
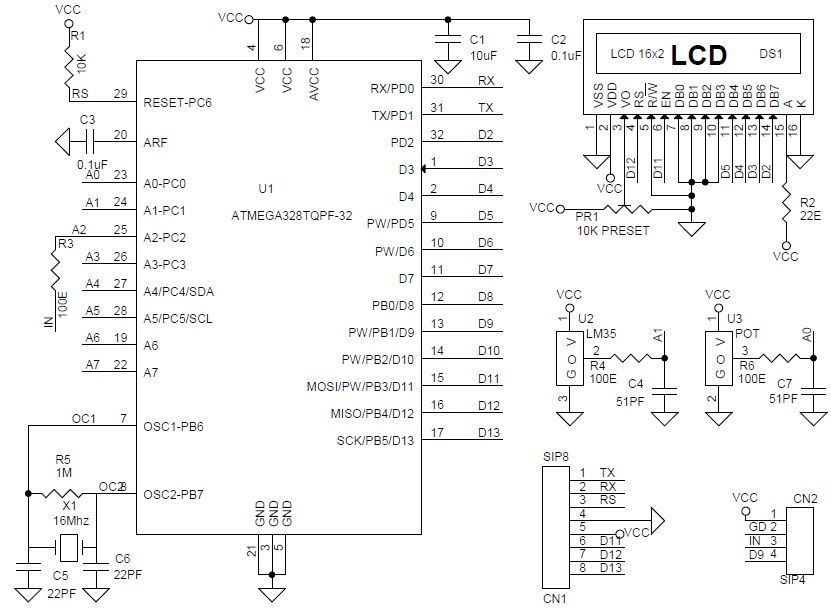
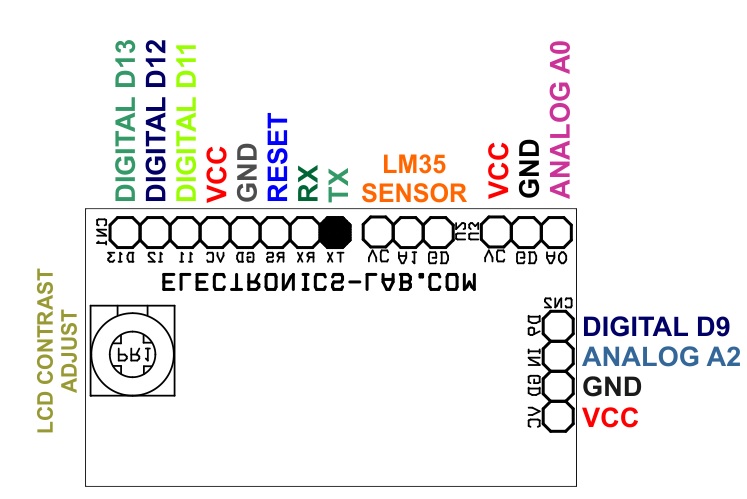
- LCD >>D12, D11, D5, D4, D3, D2
- LM35 Temperature Sensor >> Analog Pin A1
Arduino Additional Pin Configurations
- U3 >> VCC, Analog Pin A0, GND
- CN2 >> VCC, GND, Analog Pin A2, Digital PWM Pin D9
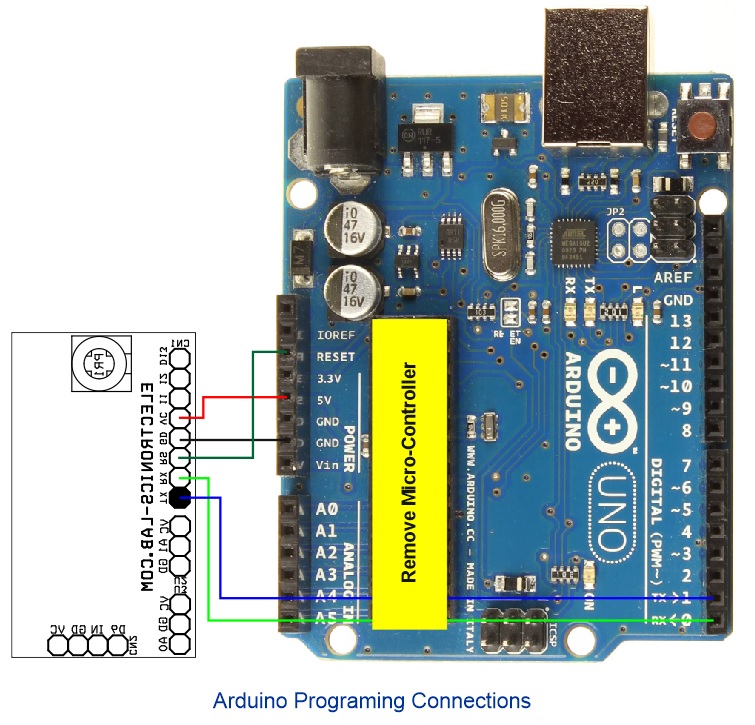
- CN1 >> Arduino Programming
Bootloader Burning and Arduino Programming
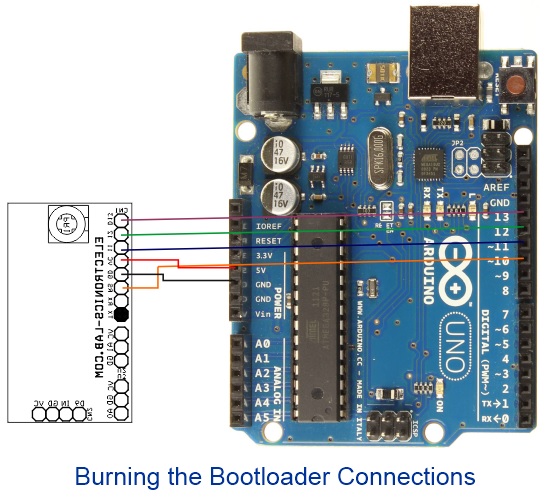
Once you assemble the board and use a new ATmega328 chip, you’ll need to burn the bootloader onto it. You can do this using an Arduino board as an in-system program (ISP). Follow the link below for more information on programming and bootloader burning Atmega328 chip.
https://www.arduino.cc/en/Tutorial/ArduinoToBreadboard
To burn the bootloader, follow these steps:
- Upload the ArduinoISP sketch onto your Arduino board. (You’ll need to select the board and serial port from the Tools menu that corresponds to your board.)
- Wire up the Arduino board and LCD microcontroller board as shown in the diagram above.
- Select “Arduino UNO or Nano w/ ATmega328” from the Tools > Board menu.
- Select “Arduino as ISP” from Tools > Programmer
- Run Tools > Burn Bootloader
- You should only need to burn the bootloader once. After you’ve done so, you can remove the jumper wires connected to pins 10, 11, 12, and 13 of the Arduino board. Now, this board can be programmed using Arduino IDE with easy connection with Arduino UNO (without Micro-Controller on it) or FTDI USB to a serial module.
LM35 Sensor
The LM35 series are precision integrated-circuit temperature devices with an output voltage linearly-proportional to the Centigrade temperature. The LM35 device has an advantage over linear temperature sensors calibrated in Kelvin, as the user is not required to subtract a large constant voltage from the output to obtain convenient Centigrade scaling. The LM35 device does not require any external calibration or trimming to provide typical accuracies of ±¼°C at room temperature and ±¾°C over a full −55°C to 150°C temperature range. Lower cost is assured by trimming and calibration at the wafer level. The low-output impedance, linear output, and precise inherent calibration of the LM35 device make interfacing to readout or control circuitry especially easy. The device is used with single power supplies, or with plus and minus supplies. As the LM35 device draws only 60 µA from the supply, it has very low self-heating of less than 0.1°C in still air. The LM35 device is rated to operate over a −55°C to 150°C temperature range, while the LM35C device is rated for a −40°C to 110°C range (−10° with improved accuracy). The LM35-series devices are available packaged in hermetic TO transistor packages, while the LM35C, LM35CA, and LM35D devices are available in the plastic TO-92 transistor package.
Schematic
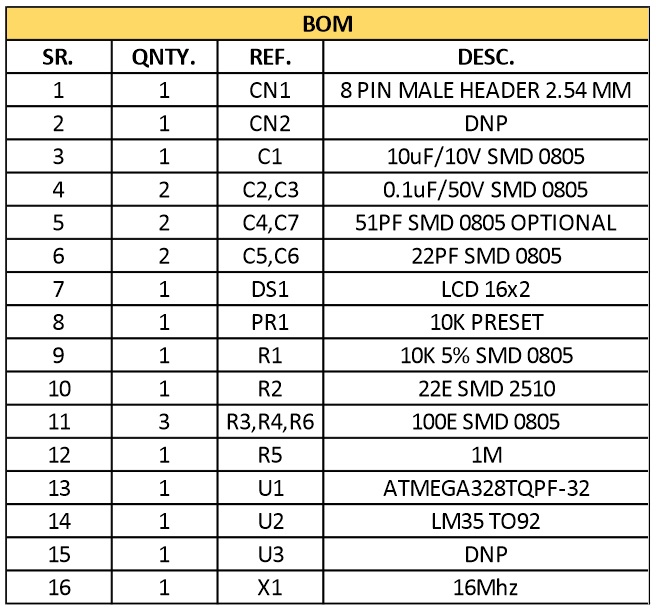
Parts List
Connections
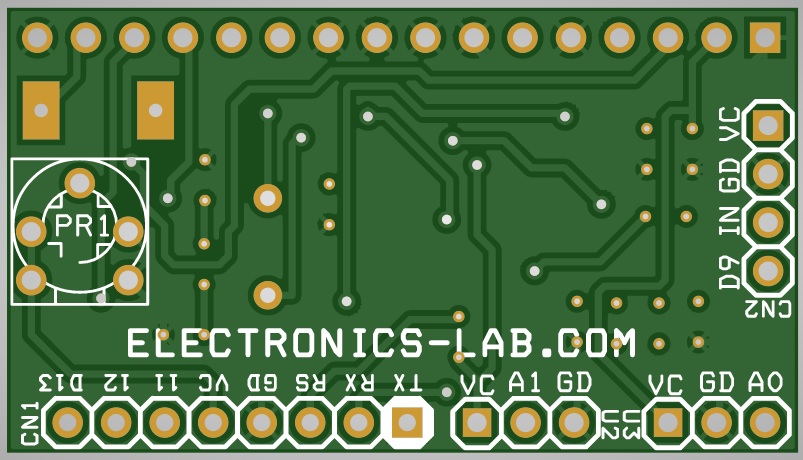
Gerber View
Photos


